Quality certified service for your RV, providing comprehensive chassis diagnosis and repair as well as all coach service
Quality Certified RV Service
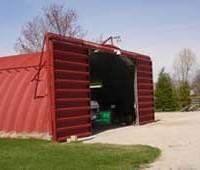
Located in Sunbury Ohio – about 20 minutes from the north side of Columbus Ohio, we provide expert RV Service and RV Repair on all types and sizes of RV’s, motor coaches, 5th wheels, campers and towable trailers.
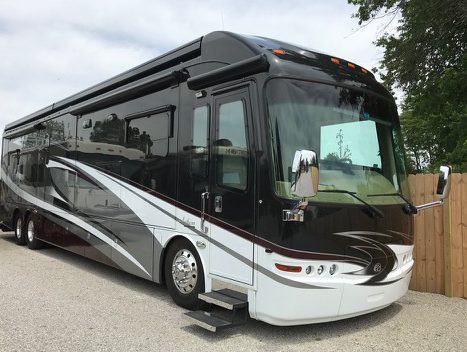
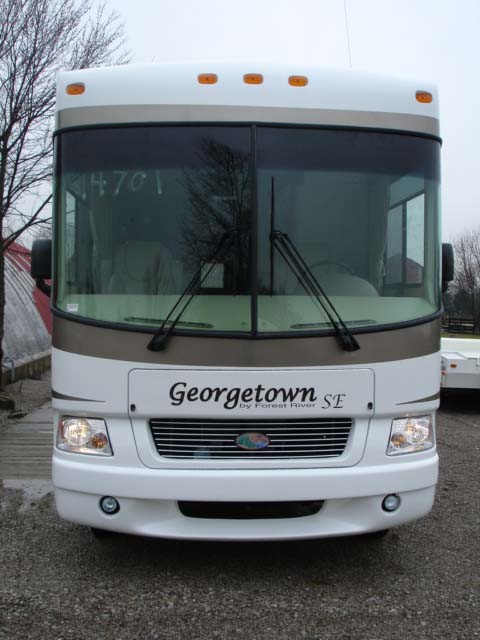
We offer RV rubber roof repair , roof membrane replacement, RV refrigerator replacement, repair and recall service, RV Satellite HDTV installations, RV awning replacement and Repair, all mechanical, electrical, chassis and RV Coach service. Insurance jobs welcome.
All RV Service and RV Repair is managed by RVDA Certified Master RV Tech – Mike Wilson, phone support is provided with every job.
Looking for RV service near Columbus, Ohio? Please email or call 419-529-2700 ext 2, and talk with Mike today.
Authorized RV Service Center

Authorized Dealer Service Center, we work directly with most RV & Parts Manufacturers
Are you fixing your RV in the right order?

By: Master Certified RV Tech Mike Wilson, Wilson RV in Sunbury, Ohio In our RV service department, we typically see multiple problems with vehicles when they come in for service. Many times owners misunderstand the order in which problems should be solved. It may be helpful to have an understanding of how your vehicle works […]
How to Winterize your RV for Ohio Part 2
Aside from winterizing the plumbing system, when an RV is stored in Ohio or other cold weather states there are several other areas that should be prepared for winter. Coolant/Antifreeze: Any RV with an engine or water cooled generator should have the antifreeze tested before freezing temperatures set in. Antifreeze should be tested for freeze […]
How to Winterize your RV Water System
The temperatures have dropped here in Ohio and the words frost and freeze are now showing up in the weather forecast. So if you are staying in Ohio it is time to winterize your RV. Call 419-529-2700 ext 2 RV Service to schedule an RV winterizing appointment today or if you want to do it […]
RV Service is very busy
RV Service has been very busy this month and it looks like that will continue thru the end of the summer. Right now appointments are being scheduled about 3 weeks in advance, so if you need RV Service for a summer trip be sure to call 419-529-2700 to make your appointment. Don’t wait or you […]